Top 10 Hidden Corners in Dust 2 You Didn't Know About
Dust 2, one of the most iconic maps in the world of Counter-Strike, is well-known for its strategic gameplay and tightly-knit corners. However, beyond the primary pathways and popular spots, there are numerous hidden corners that can prove invaluable for players looking to gain an edge over their opponents. Here, we explore the Top 10 Hidden Corners in Dust 2 that you probably didn't know about, offering you the chance to enhance your gameplay by surprising your foes from unexpected angles.
- Upper Tunnels: This often overlooked area can be a great spot for ambushing unsuspecting enemies.
- Catwalk Ledge: A narrow ledge that provides excellent cover while allowing for strategic positioning.
- B Site Box: Players can hide behind the bombsite boxes, making it tricky for attackers to spot them.
- Long A Pit: This spot offers an advantageous position for snipers, giving visibility while remaining concealed.
- Lower B Tunnels: Often forgotten, staying here can catch many unaware.
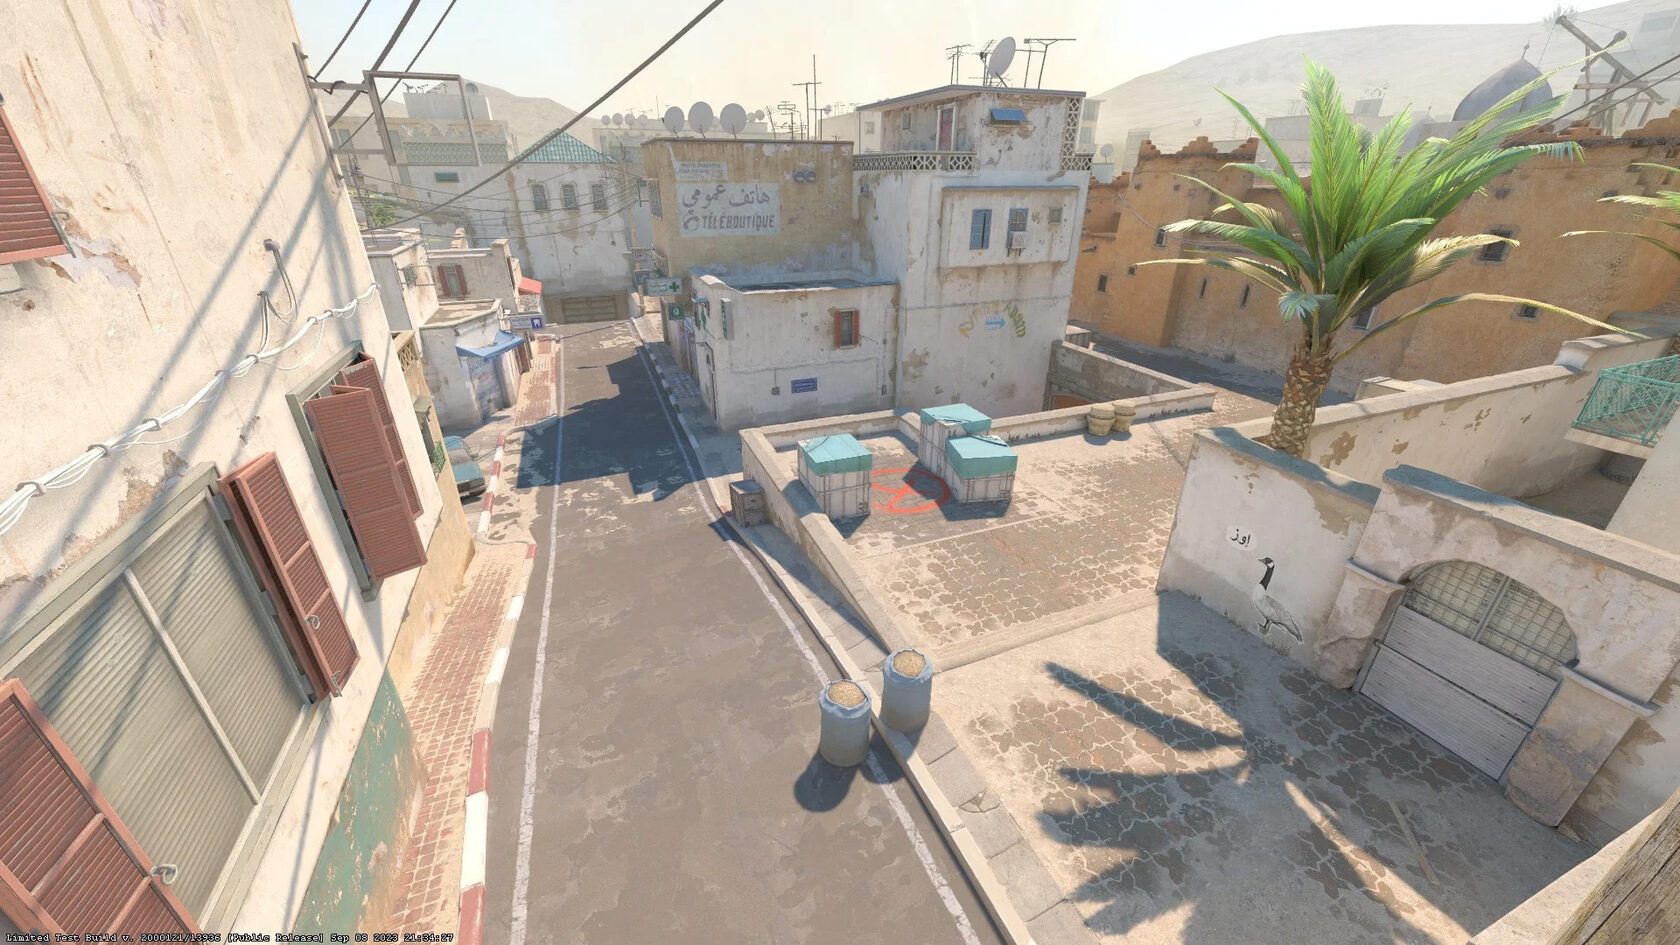
- Back of A Site: A sneak attack position available for players rotating through.
- Mid Doors: Peeking from here can yield significant rewards.
- Shadows in A Long: A perfect place for surprise attacks.
- Brick Wall in B: Offers natural cover for ambushes.
- Communications Room: Waiting here can provide a strategic perspective of the game.
Counter-Strike is a highly popular first-person shooter game that emphasizes teamwork and strategy. Players can choose from various weapons and skins, including the infamous m4a4 howl, known for its distinctive artwork and rarity. The game's competitive nature and frequent updates keep players engaged across different iterations, making it a staple in the esports community.
Clever Tricks for Outplaying Your Opponents on Dust 2
When playing on Dust 2, one of the most effective clever tricks to outplay your opponents is utilizing the map's unique layout to your advantage. For instance, mastering the use of smokes and flashes can help you create distractions and set up ambushes. Here are some key strategies to consider:
- Smoke Mid to B: This classic technique can block enemy vision and allow for a smoother transition to the B site.
- Flash Long A: Throwing a well-timed flashbang can disorient opponents holding angles at Long A, giving you the perfect opportunity to push forward.
Another essential aspect of dominating Dust 2 lies in your ability to control information and communicate effectively with your team. Use common callouts for locations and ensure everyone is aware of your movements. Additionally, employing a bait and switch tactic can be highly effective. For example, one player can peek an angle to draw fire, while the second player waits to capitalize on the distracted enemy. This strategy not only confuses your opponents but also increases your team’s chances of securing eliminations and winning rounds.
How to Use Dust 2's Layout to Your Advantage: Tips and Strategies
Understanding the layout of Dust 2 is crucial for any player looking to gain a competitive edge. The map is divided into distinct areas, including Bombsite A, Bombsite B, and key middle areas, all of which can be strategically leveraged. Here are some tips to use the layout to your advantage:
- Control the Middle: Dominating the middle area allows for easier access to both bomb sites, making it essential for both offense and defense.
- Utilize the Long A Route: This long sightline can be advantageous for snipers, enabling them to pick off enemies from a distance.
- Flank with B Tunnels: The tunnels provide a sneaky route to bombsite B, often catching opponents off guard.
Knowing the layout also means understanding common choke points and high-traffic areas. To capitalize on this, consider the following strategies:
1. Smoke and Flashbang Utilization: Use smokes to block sightlines and flashbangs to disorient enemies, allowing your team to push through key areas safely.
2. Team Communication: Always communicate your team's movements and the enemies' positions. Good teamwork can make exploiting the map's layout significantly more effective.